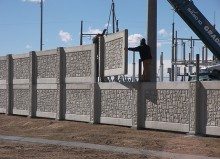
Precast Concrete Wall Installation Process
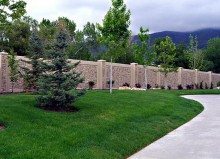
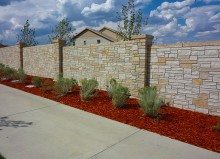
Unsightly concrete walls are a thing of the past when you choose a precast concrete wall solution. Precast concrete is produced by casting concrete into a reusable mold. The mold is cured in a controlled environment and securely transported to the building site. Through this innovative process, we can choose from a wide range of colors, shapes, and surface finishes, while simultaneously reducing the time needed to successfully complete an installation.
Understanding The Precast Concrete Wall Process
At Stone Tree, we understand that clients want the job done as https://www.acheterviagrafr24.com/vente-viagra-au-canada/ quickly as possible, while still retaining high quality results. To best exceed client expectations, we created a six-step installation process. These steps are designed to streamline the installation process, so that we provide minimal disruptions to the work site, maintain professionalism at all times, and deliver an exceptional final product.
Step 1: Client Consultation
During the client consultation a member of the Stone Tree team will visit the fence installation site. The site will be thoroughly examined to determine the following factors:
- Property lines
- Fence Placement
- Gate or opening location
- Lighting and security features
As part of the initial client consultation, we will ask the client if there are any specific details that we should know about the property and any other details that are pertinent to the project. For example, the property might have a hidden sprinkler system that we need to know about, before we begin the installation process. By understanding the specificity of each fence installation site, we can better mitigate any potential delay factors, so that the project can be completed on-time.
Step 2: Precast Concrete Wall Assessment and Design
Once all of the measurements for the fence installation have been taken, we will explore the various design options that are readily available to our clients. The design factors are taken into consideration:
- Color of the concrete materials
- Finish of the concrete surface
- Potential design into the surface of the concrete wall
- Confirmation of the height, width, and shape of the structure
- Type of aggregate used in the construction of the precast concrete
Once we have gathered together all of the design specifications, we will create a detailed drawing for client to review and approve. Upon approval of the detailed drawing, a client agreement is signed, and a deposit is given to secure a position in the production schedule.
Step 3: Production of the Concrete Molds
During the production stage, the approved drawing is divided into sections. Each section represents an individual precast concrete wall panel. These sections are sent to the production team, who will prepare the concrete molds for each panel, based on the highly detailed production drawing. A quality assurance check is conducted before the concrete molds are filled; this quality assurance check is to ensure that the client specifications have been completely followed and that the design is correct.
Step 4: Transportation of the Concrete Molds
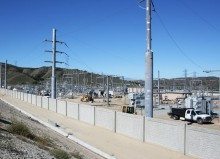
Precast concrete wall pieces are formed by our National Precast Concrete Association certified manufacturing plant. This certification ensures that our walls meet the highest standards for durability and consistency. We create the wall pieces off-site to save time and money. Our process also reduces the amount of space that is needed at fence installation sites. The only exception to this rule occurs when we are working on larger projects, which require onsite casting. Once the molds have been created, we transport them to the fence installation site.
Step 5: Installation of Fence Footings
During the completion of Steps 3 and 4, a construction crew will mobilize at the jobsite to install fence footings. The crew will determine where to place the fence footings. Once the location has been set, an auger is used to drill holes every 15 feet. The footing forms are then laid out, set to grade with the structural supports securely clamped in each of the forms. Finally, the footing forms are filled with concrete. These measures are taken to create a secure base for the installation of the individual wall sections.
Step 6: Wall Sections Are Installed
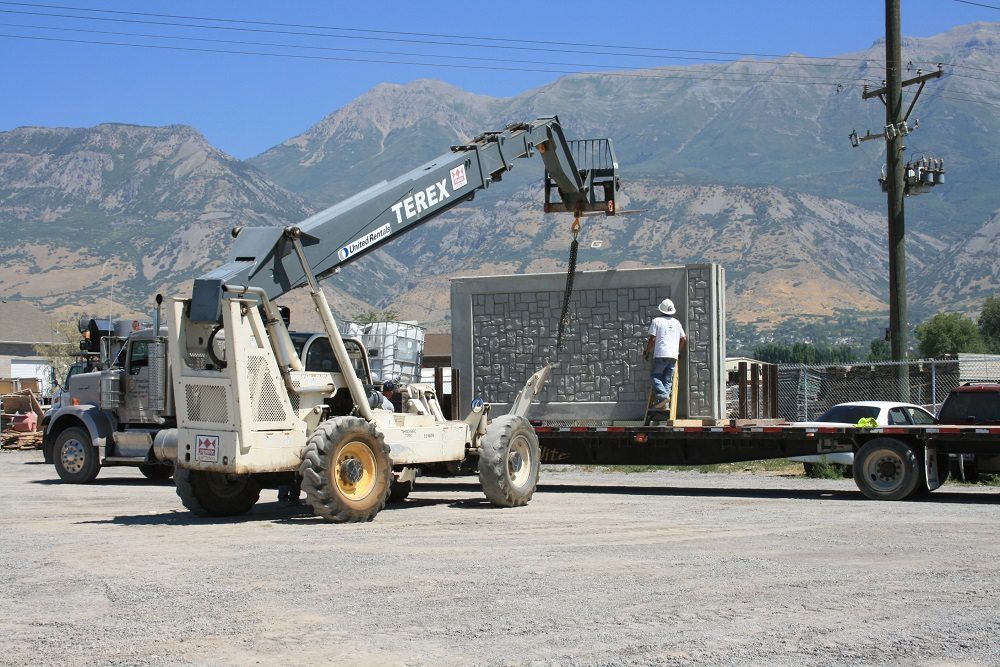
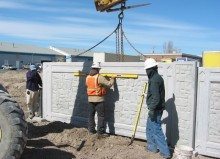
Once the fence footings are in place, it is time for the wall sections to be delivered and installed. Due to our proven installation process, our professional construction team is capable of installing over 400 linear feet of fence walls on a daily basis.
- Wall sections are carefully removed from the delivery truck
- Each section is safely transported to the fence line
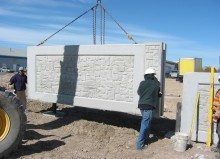
- A wall section is then lined-up with the protruding steel supports
- Once the wall section is over the steel supports, it is
aligned with the preceding panel, and the rigging is removed
- The installation process is then repeated
- Once the final panel is in place, a concrete cap is securely added on top of each panel to create
a visually https://www.acheterviagrafr24.com/viagra-pfizer/ appealing final product.
Through this proven installation process, we have built beautiful, sturdy, and long-lasting walls for Homeowner Associations (HOAs), industrial areas, commercial sites, and a multitude of other properties. We invite you to contact a member of our team to set-up your fence consultation or to learn more about our customized approach to installing precast concrete walls.
- Precast Concrete Wall Installation Process - September 29, 2015
- Benefits of Concrete Commercial Fencing - August 28, 2015
- Fascinating Uses of Concrete - July 6, 2015
